
By Ian Cushway
May 09, 2018
|
We give you our top tips to help you get your parts organised during a strip down.
So your dream project has been trailered home, it’s on your driveway and you’re itching to get underway with its restoration. Happy days. But hang on, before you get stuck in to the strip down we’ve got some useful tips to help prevent you getting in a muddle and turning your garage into something resembling an autojumble...
Take a deep breath...
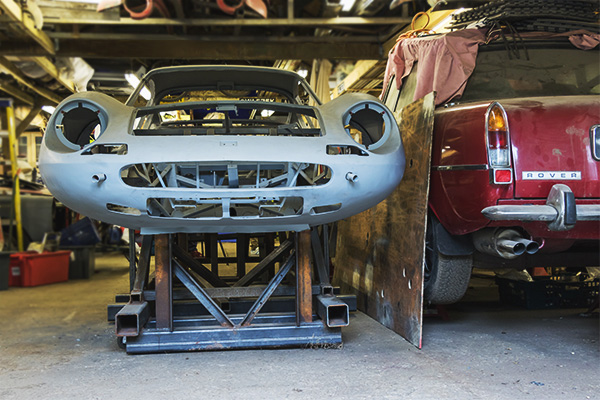
Before opening your toolbox, be realistic about how far you want to go. Do you want to get behind the wheel as soon as possible and do more of a ‘rolling restoration’, or are you ready to commit to a long-term nut and bolt rebuild? Assess what, if anything, needs welding and which panels you want to replace or remove to repair. If you’re likely to carry out a respray, it’s best if the interior comes out. But do you really need to strip everything down to a bare ‘shell? You could be creating unnecessary work for yourself.
Credit: Image source - Moss Europe 2018
Snap it and see
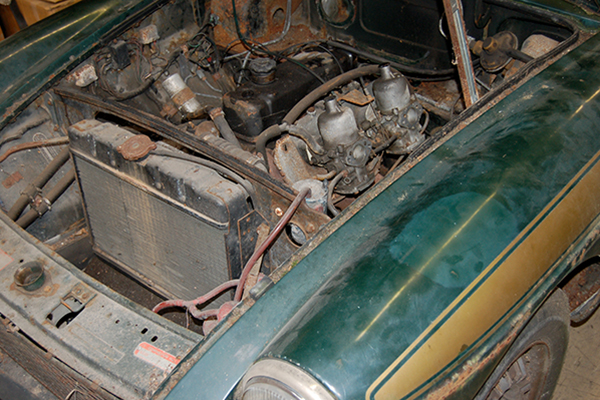
Before undoing anything, grab a shot of the complete car ‘as found’, taking pictures from every angle. Get the interior, engine and other details like badging. Why, exactly? Well, it’s the one thing most people forget and regret later, and also it will provide a useful reference when it comes to putting everything back together again. Oh, and it will be an essential part of your car’s ‘history file’ as mentioned in our previous 'Create A History File' blog.
Credit: Image source - Moss Europe 2018
Get organised
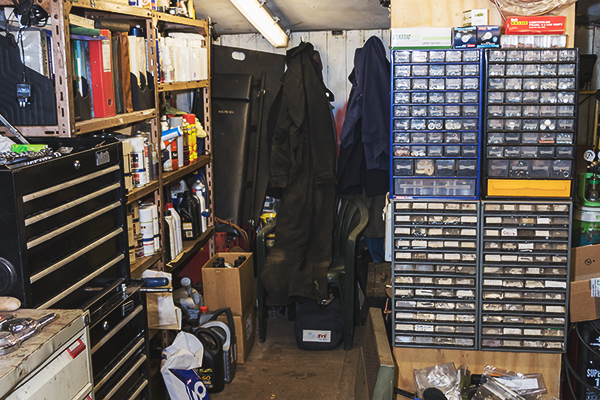
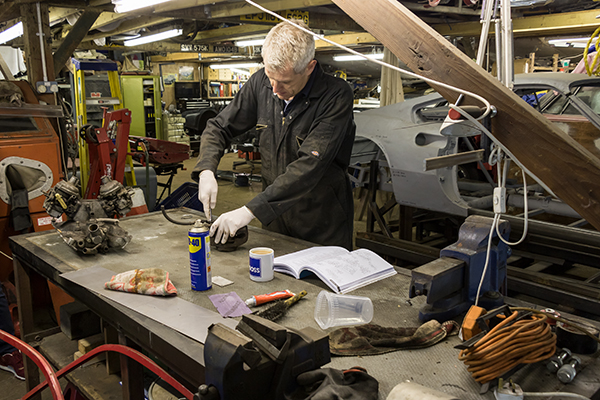
The secret during a strip down is to plan ahead and be methodical. Soak everything in release agent the night before to avoid stripping threads and make sure you’ve got the correct tools beforehand. After all, there’s nothing worse than getting halfway through taking something apart only to find you’re missing the necessary spanner or extractor to get the job finished.
It’s also worth allocating work areas for each activity; so one half of your workshop should be kept clean for the mechanical/electrical bits, as other areas for body preparation will inevitably involve more dust.
Credit: Image source - Moss Europe 2018
Finders keepers
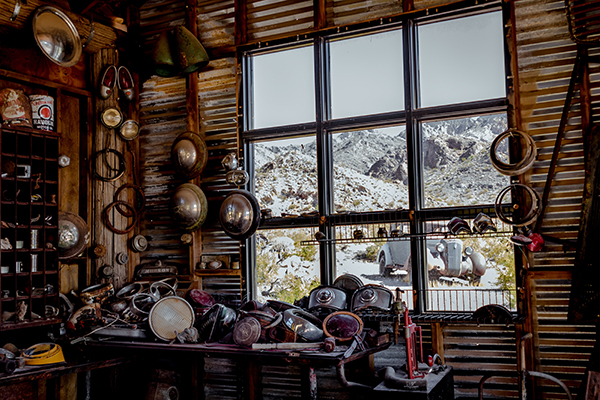
The golden rule is never throw anything away; you might need the old part as an exchange. Also, it’s helpful if you can get the necessary part reference number off the old item to ensure you order the correct replacement. The same goes for body panels – however rusty they are, they’ll act as a useful pattern if you need to get a repair panel.
Credit: Image source - Ryan Hafey on Unsplash
It’s in the bag
With wiring and electrical connections, label where each wire goes before you disconnect anything. Beware of using biro on masking tape – chances are it will fade and you won’t be able to read it after a few months. Use a permanent marker instead, then cover the masking tape or tag label in Sellotape to prevent oil contamination. A handy tip is to use coloured electrical ties to group wires with their components. If you’re so inclined, make a cardboard template, draw a diagram of a component in the centre then insert the fittings through it in the right position. Not only will you be able to see where everything goes, but it will keep everything safe too. Sealable freezer bags are ideal for smaller components.
Credit: Image source - Moss Europe 2018
High and mighty
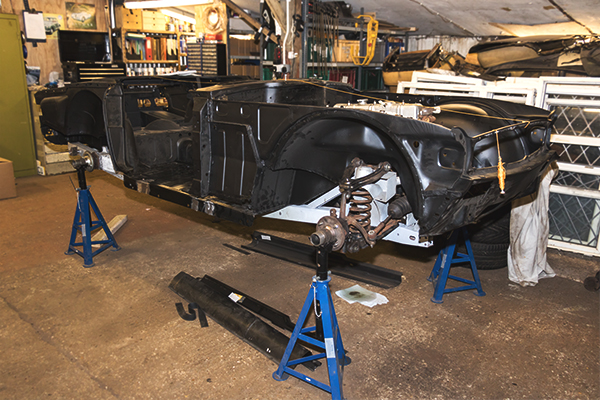
To avoid ending up with a teetering tower of bits, consider where you are going to store everything. Body panels are best kept high, out of the way so they don’t get damaged. The eves of a pitched roof garage are perfect. It’s really worth investing in some strong metal shelving – keeping trim, suspension, brake, engine and electrical items separate for easy access. Bolt the shelving to the wall for extra safety.
Credit: Image source - Moss Europe 2018
Keep it safe
When storing parts, think about safety and security. We’ve all tried to move something heavy on our own and suffered the consequences, so call in some muscle to help. Storing parts outside simply runs the risk of deterioration, as well as attracting prying eyes and annoying the neighbours.
Install a couple of mouse-traps (humane ones, of course) to avoid rodents nibbling through something expensive. A damp garage can ruin electrical gear and fabrics, so install a dehumidifier or at least ensure there’s adequate ventilation.
Credit: Image source - Moss Europe 2018
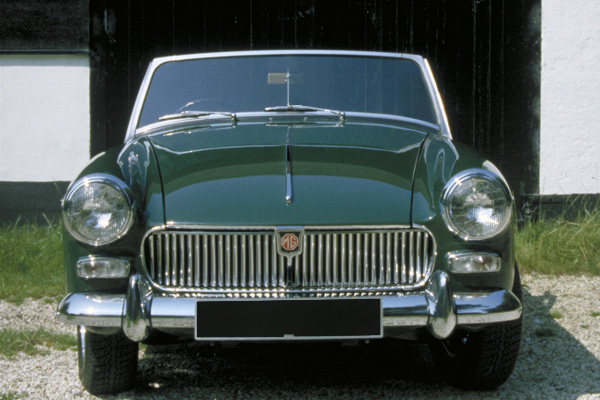
If you get parts properly organised at the outset you’ll not only make the whole restoration process easier and more fun, but you’ll avoid the inevitable head scratching when it comes to the exciting bit of bolting everything back together.

Keep up with all the latest from Moss Europe on our social pages

|
|




 Loading...