By Ian Cushway, 09th September 2021
Paint your wagon
Spraying is an art, but here's some top painting tips to get a good DIY result.
As with other areas of hobby mechanics and home tinkering, health and safety should be a primary consideration when undertaking any bodywork preparation or painting. Ensure that you are working in a well-ventilated area and have the appropriate PPE for the job. Once that is taken care of, you are ready to get you classic looking tip-top.
So, you have a few iffy areas of paintwork you'd like to get sorted before the winter sets in? No problem, because you can get a pretty good finish yourself if you follow these simple steps, don't rush things and be prepared to repeat various stages to get the best results.
Undercover job
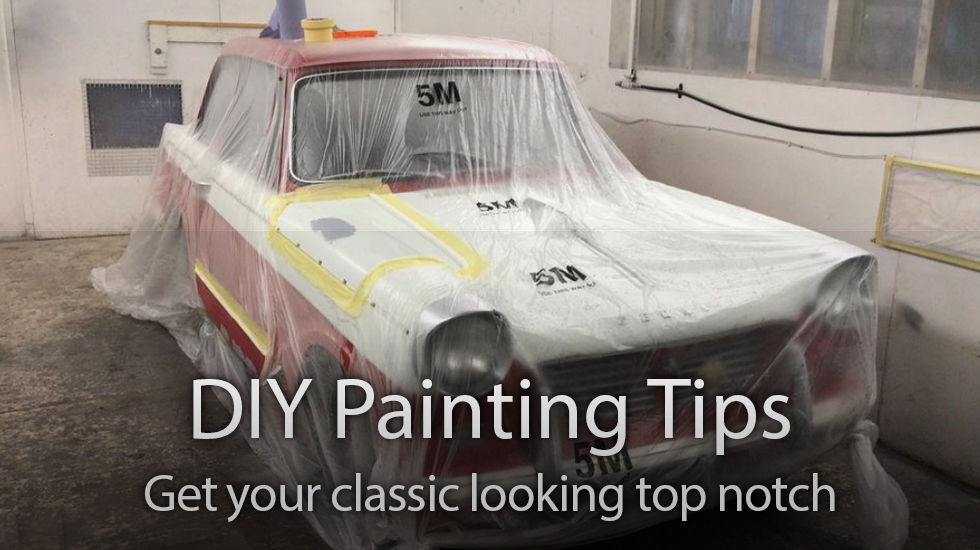
A stripped bodyshell will be much easier to paint, but in the real world you may need to remove seats and trim and mask up anything you don’t want covered in dust and overspray. At this point, decide how far you want to go – are you just doing a 'patch' or will you be painting an entire panel?

Image credit: Moss Europe Ltd
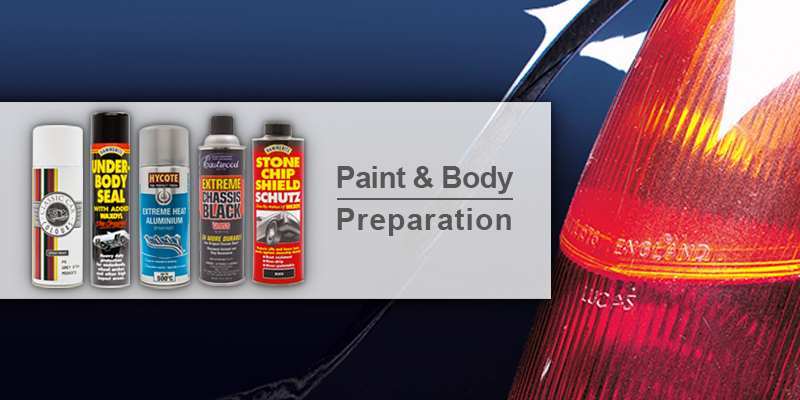
Proper preparation is key. A rust treatment should be applied to any bare metal before an epoxy primer is applied. Use a light skim of reinforced body filler to hide any imperfections then rub this down using increasingly fine grades of sanding paper before applying more primer and repeat this process several times until everything is super smooth. A high-build primer (which acts as a filler) can be used on really rubbish surfaces. Don’t rush at this stage and make sure you leave ample time for materials to dry in between each stage of the process. Once the surface has been cleaned with pre paint preparation or a panel wipe solvent, you will then be ready for a coat of paint.

Image credit: Moss Europe Ltd
Which paint?
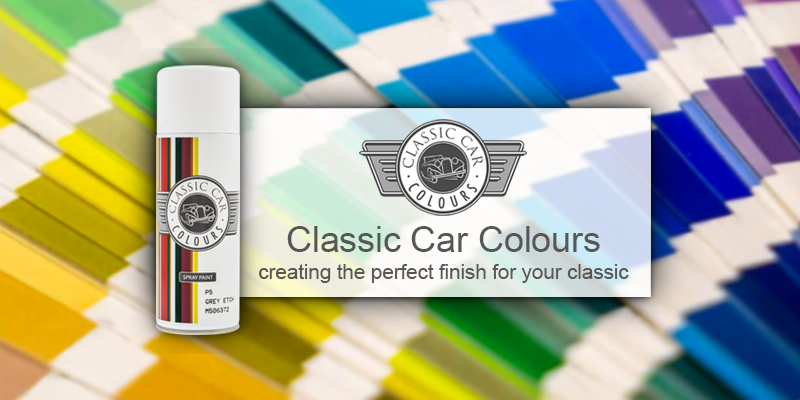
Most DIY'ers use a solvent-based cellulose. The coloured finish contains solvents that evaporate after application which effectively allows the paint to dry. Classic Car Colours paint (above), offer a vast range for MG’s and Triumph’s original paints in spray, tin or touch up.
You can also buy paints described as ‘base coats’ which have a metallic finish, dry matt and require a clear lacquer. For environmental reasons, water-based enamel paints have also entered the marketplace in recent years.
Polish a small section of bodywork and check the cloth; if it’s picked up a hint of colour from the paint then it’s a solid colour, if there’s no transfer there’s been a clear coat of lacquer applied.
Watch out with cellulose, though – you'll get a reaction if you paint it over anything other than properly cured primer. Oh, and water-based paints require a clean flow of cool air to harden, and this isn’t always easy to recreate in the DIY environment.
Grab your gun
The preferred option for the DIY sprayer is an HVLP (high volume low pressure) gun which delivers air at a much higher volume but at a lower pressure so that more paint ends up on the bodywork. For that reason, they tend to be more efficient and produce less overspray. Gravity feed of the paint is good in terms of less wastage also.
Kits usually come with two guns, one for coverage and another for smaller panels, or to address scratches and carry out blending. You’ll also get a choice of nozzles, depending on whether you are spraying primer, top coat or lacquer as well as pressure valves to get a suitably low pressure. Basic entry level kits start at around £70 and a compressor will be around another £180.
Rattle and roll
For smaller panels, or when spraying a wheel arch or door, for example, a traditional aerosol – or rattle can – will do the trick. You can either buy one in the correct colour if it’s available, or have a paint specialist make up the right mix for you. Be sure to give the can a real good shake before application, and keep the can upright and at a constant distance to the panel while spraying.
Trial, no errors
Master your spraying techniques on an old panel before pointing your gun at the real thing. Spraying is an art, but that doesn’t mean you can’t get a good DIY result. You need to start with the correct mix of paint and thinners, so it’s thick enough not to run but not too thick as to splatter and produce an orange peel effect. Keep the gun at an even distance from the panel and only apply the trigger when you are moving it. And remember, a few light coats are better than going mad and getting runs.
It makes sense spraying a panel edge to edge to avoid having to blend in with old paint. If you do have to blend-in new paint, try doing it on a panel curve to make it less obvious.
Buff it up
If you're trying to inject new life into old paint, try buffing it up with one of our polishers. However, be careful not to break through either the clear coat, or the base coat into the primer. The alternative is to work across a large area with 3000-grit wet-and-dry abrasive paper, using a soapy solution to lubricate the action and prevent working through the paint completely. The dull finish created can then be polished with mildly abrasive cutting compounds followed by a polish and a coat of wax.

Image credit: Moss Europe Ltd
Painting Calipers?
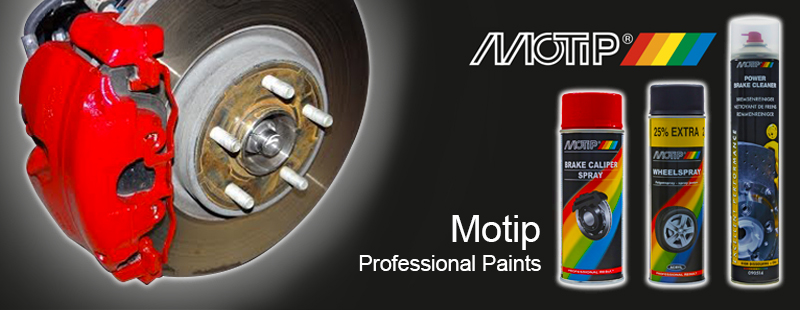
Finally, if you're trying to match-up your brake calipers with your car's paintwork then a cheaper way of doing it rather than buying new coloured calipers is to paint them yourself using a caliper paint. We recommend using Motip professional paints (above). Varying from high quality paints & professional lacquers to more technical products, such as brake cleaners and silicone sprays, Motip supply a vast assortment for the automotive industry.

Keep up with all the latest from Moss on our social pages
|


 Loading...