
By Ian Cushway
12th September 2018
|
Fettle like a pro
10 DIY steps to get your classic looking like a show car.
Washing a car’s easy, right? It’s the kind of thing we do without really thinking, and most of us stick to a well-rehearsed routine usually involving a hose, a sponge and lots of bubbly water. But, like everything, the devil’s in the detail and by learning a few new tricks, you’ll be able to get your car looking its sparkly best in no time...
1. Start with the wheels
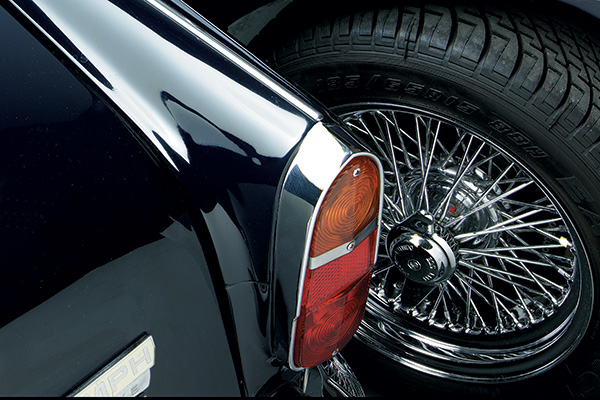
Make wheels one of the first things you tackle because you will need to allow time for the necessary cleaning agents, such as Meguiar’s Hot Rims Wheel & Tyre Cleaner, to do their work. Use a brush & our Wheel Nut & Cavity Cleaner to get into all those hard to reach places. Don’t let wheel cleaner dry on the wheels, otherwise it will stain & use a separate bucket & wash mitt, so you don’t get the strong cleaning agents on the rest of the body. When the wheels are dry, apply polish or a sealant to keep them looking shiny. For owners of classics with wire wheels, use our Specialist Wire Wheel Cleaning Kit & our Brush for knock-on wheels.
Credit: Image source - Moss Europe Ltd.
2. Foam a friend
The worst mistake you can make when washing a car is to dive straight in with a sponge because if there’s a layer of dirt on the car, all you’ll do is scratch the paint surface beneath. Instead, apply a thick coating of foaming agent via a pressure washer lance bottle or foam cannon. Bonner & Fitz Snow Foam is pH neutral so won’t strip any previous layers of wax or protection. The foam will emulsify the dirt beneath and lift it off the panel and reduce the risk of swirl marks. Leave it on the car for 10 minutes, not allowing it to dry in direct sunlight, then pressure wash it off. A top tip here is to use a citrus pre-cleaner to help break down tougher residues on the lower half of the car first.

Credit: Image source - Photo by Mitchell Griest on Unsplash.
3. Two bucket business
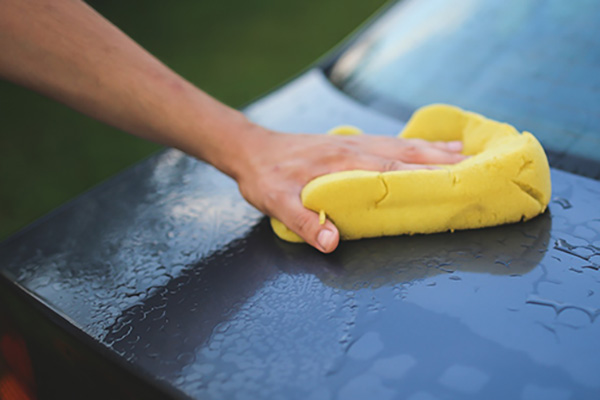
So why do you need two buckets? Well, the first one has clean water in it, the other the correct dilution of a quality car shampoo like Meguiar’s Ultimate Wash & Wax. From our 9 Piece Microfibre Cleaning Kit use the wash mitt, not a sponge, so that the dirt particles are absorbed into the mitt and not allowed to sit on the surface and risk scratching the paint. Dip the mitt into the shampoo, apply to a small section of the bodywork at a time, then wash the mitt in the clean water bucket before repeating the process. This way you won’t contaminate the wash solution. Oh, and use buckets with a grit trap at the bottom as an extra precaution. If you don’t have one, use a plastic kitchen strainer in the bottom instead! Don’t forget to change the water regularly.
Credit: Image source - Moss Europe Ltd.
4. Top to bottom
Rinse the car from top to bottom with a steady stream of clean water, again ensuring that none of the panels dry completely if the car is in direct sunlight. You should see the water ‘bead’ off the paintwork, otherwise it might be time to top up your car’s layer of wax!
5. Throwing in the towel
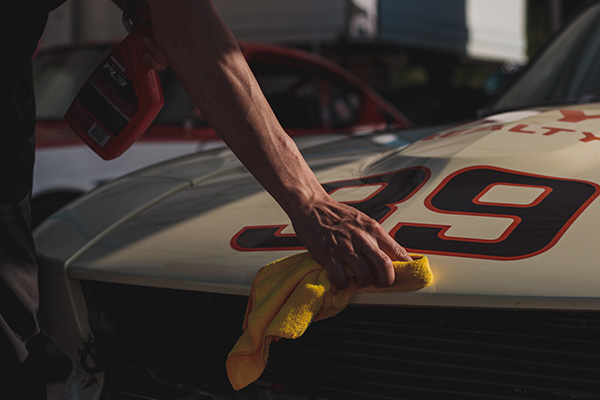
You’re probably in the habit of using a chamois (either real or man-made) or a rubberised wiper blade to dry your car after washing it. Well, now’s the time to break with tradition and use a dedicated drying towel instead because the first two methods involve an increased risk of dragging small particles of dirt across your car’s mirror-like paint surface. Our deep pile Microfibre Cloth will get excellent results. Work from the top of the car down, and make sure the towel doesn’t touch the ground or become in any way contaminated. Use a detailing spray such as Meguiar’s Ultimate Quik Waxto remove any streak marks afterwards.
Credit: Image source - Photo by Matthew Dockery on Unsplash.
6. Clay bars
With the car completely clean, use a iron contaminate remover to rid the surface of your paintwork of ferrous particles and a tar remover, such as Autoglym’s Intensive Tar Remover to clean the lower quarters. Now it’s time to break out the clay bar – Meguiar’s Quik Clay Detailing System. This will remove tiny specs of tar and tree sap from the surface of your paint. Simply kneed it into a flat, round disc then run it across your bodywork in a straight motion using a lubricant on the surface. As the bar becomes contaminated, fold it into itself and start over again.
7. Polished act
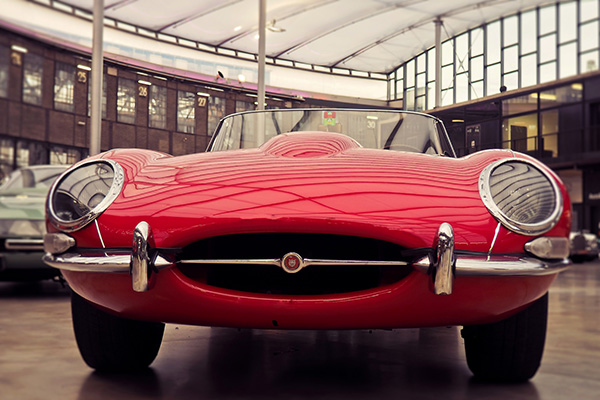
Now use a pre-wax cleanser to rid your paintwork of ground-in dirt, followed by a product to help remove swirl marks – try the excellent Meguiar’s ScratchX 2.0 to help revive your paintwork. Then apply an all-in-one polish. These contain a light abrasive element, solvent, glazing agent & a wax. Use a microfiber applicator, & polish off with a microfibre cloth. Working in a circular motion here will give a better finish. Unless you know what you are doing, machine polishing is best left to the professionals as there’s a risk of getting carried away & cutting down to the primer!
Credit: Image source - Photo by Pixabay.
8. Dedicated wax
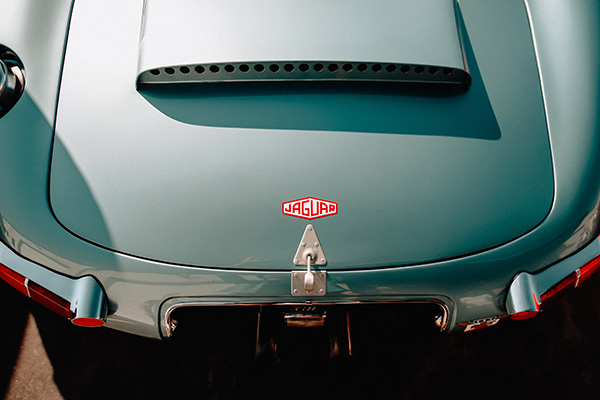
Wax won’t alter the finish of paint, but instead give it a glass-like shine and seal in all the hard work you’ve done so far. Use a foam applicator this time, working in circular motion. Leave it to cure, then buff it off. There’s lots of specific waxes for different car colours and finishes but Meguiar’s Gold Class Carnauba Plus will give your paint a strong, long-lasting protection. Or, if you want a real ‘wet look’ finish, try Meguiar’s NXT Generation Tech Wax 2.0. When applying wax, spread it evenly and thinly over the panel, don’t apply too much pressure and use circular motions. Work on two or three panels at a time, don’t do the entire car. Do a finger swipe test to make sure it’s cured properly; if it still feels oily or leaves a stain you need to leave it longer.
Credit: Image source - Photo by Alex Rhee on Unsplash.
9. The little details
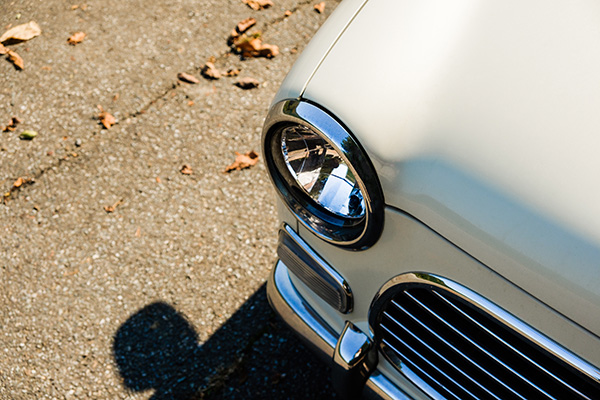
We’re almost there! Tyre and trim dressing, like Autoglym’s Bumper Care will return faded tyre rubber and plastic trim to their original rich black or grey hue. Pay special attention to the bits that you often won’t see like door shuts, the boot area and the engine bay. Time spent here will make all the difference.
Credit: Image source - Photo by Sora Sagano on Unsplash.
10. Glass
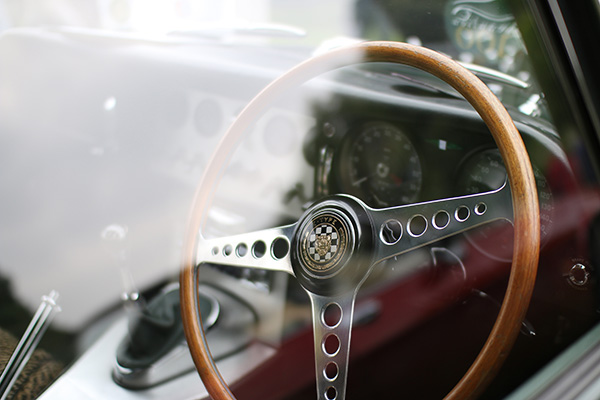
Finally, don’t ignore your car’s windows. Smear marks can ruin the look of an otherwise immaculately clean car. Always use a dedicated glass cleaner, like Meguiar’s Perfect Clarity to get them really sparkling, and do the inside surfaces as well as the outside. Carefully use a very fine steel wool with a lubricant to remove any paint overspray on glass.
And that’s all there is to achieving a show like finish every time. And don’t forget, getting your car really clean in the first place and using a shampoo with a wax content will make it easier for you to keep it looking spotless thereafter!
Credit: Image source - Photo by Duncan Sparks on Unsplash.

Keep up with all the latest from Moss Europe on our social pages
|
|




 Loading...