| |

By Ian Cushway, 21st June 2019
Replacing Body Panels
Our quick-fire guide to cutting out rust and fitting fresh metal to your motor.
Fed up with looking at the same old rust bubbles or need to tackle a bad dent or accident damage? Well, the answer is to cut it out and fit fresh metal or a repair panel instead. To get to the offending section of bodywork, you might need to take off bumpers, accessories and other panels first. So before you get started, thoroughly soak any fittings in release agent the night before, to make undoing them easier. A spot weld drill set will prove useful if you need to remove complete body sections.
The first cut...
The weapon of choice when it comes to cutting out metal is an air cut-off tool, usually equipped with a 3in wheel. It's brilliant where access is limited and you need a high degree of accuracy. Failing that an angle grinder with a 1mm slitting disc will do.
If you have a repair panel, now is the time to offer it up so you know where to make your cuts. You will need to go back to sound metal, but be wary of cutting out too much bodywork, otherwise your repair panel will no longer be adequate. The secret is to let the cutter do the work and make your cuts as neat as possible.
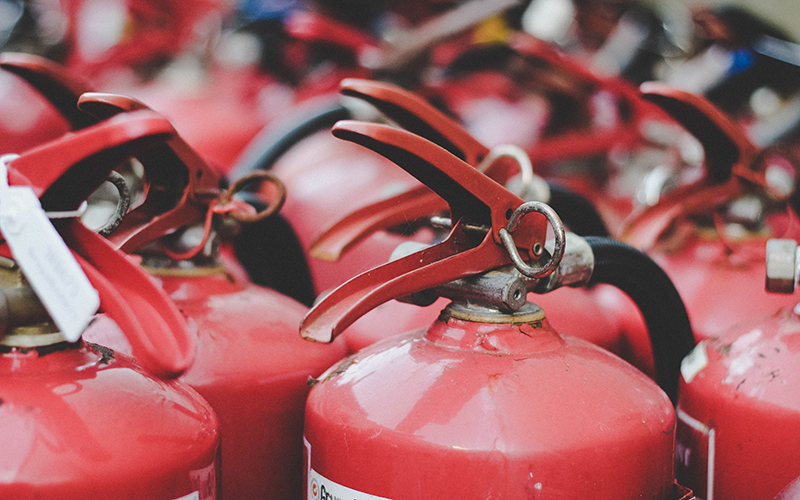
Wear the proper protective gear and be sure to mask off your windows – sparks can easily embed themselves into glass. It's also advised to have a fire extinguisher handy just in case.
Credit: Photo by Rui Neves from Pexels
Panel perfect
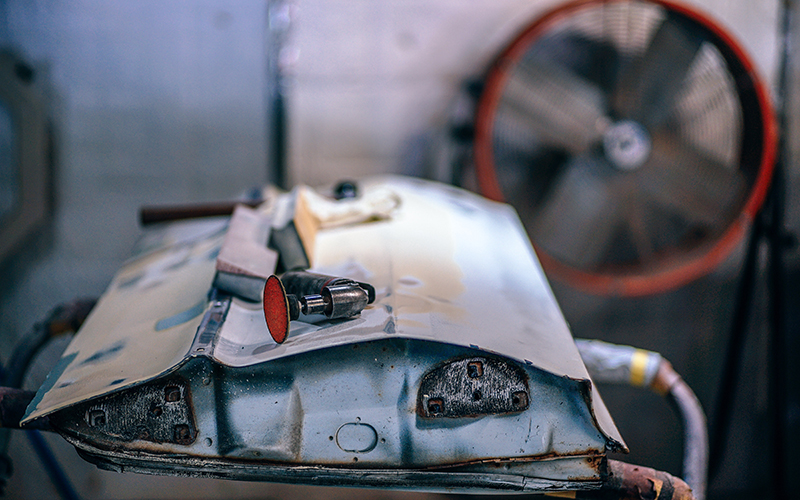
If you are fabricating a repair section from scratch, make a cardboard template and use it to cut out the fresh sheet metal. Most bodywork is made from mild steel between 0.7mm & 1.2mm thick and we stock a range of metalworking equipment which might come in handy for this kind of thing. If you’re about to weld in a variety of adjoining repair panels, it will pay to do a ‘mock up’ first to make sure they fit together as intended. Even the best quality repair panels may need some degree of alteration to fit properly, be that trimming, reshaping or ovalising bolt holes slightly.
Once you've done this, remove any surface corrosion, paint and underseal from the areas you are about to weld with a flap disc. You will need a clean metal surface before you get welding, so applying a weld-through primer to prevent further corrosion is advisable. Now, there's no reason to be afraid of having a go at welding yourself; using a DIY-friendly MIG setup is likely to be a lot easier than you might have thought!
Credit: Photo by Igor Ovsyannykov on Unsplash
Welding tips
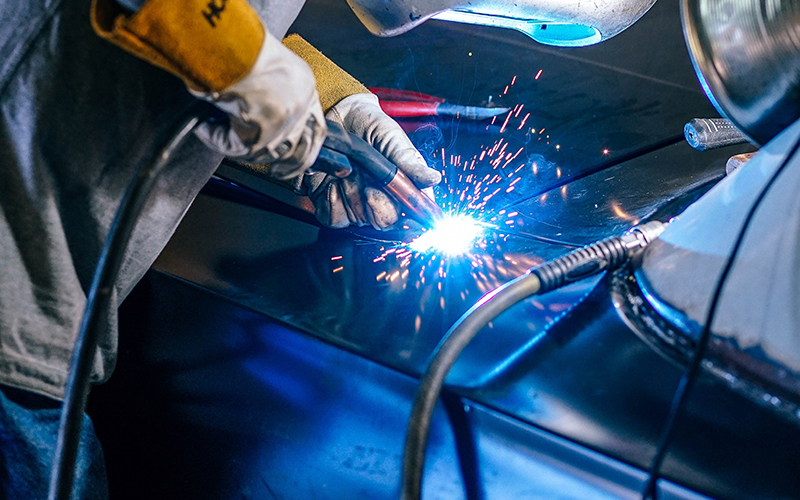
While there's not scope here to fully explain all the necessary techniques in detail, we've got some useful tips to put you on the right track. With clean, paint and rust-free surfaces surrounding, use clamps and self-tapping screws to secure the piece of new metal you are about to weld in place. If you're welding plates or flat metal together, leave a 1mm gap (V weld) instead of butting the metal up to avoid distortion and encourage better penetration. Finger clamps slide between the two panels to be welded to keep them flush. A common mistake is to weld at a too high heat in the hope that it creates a stronger weld. In fact, if the metal gets too hot, the torch will penetrate right through, making a very weak join. A too slow setting will have the same effect. While a continuous bead of weld looks nice, tack welding, leaving a gap in between, is better because it dissipates heat and prevents the panel from warping. Simply go back and join them up, avoiding laying welds on other welds, to achieve a neat line of fully penetrated welds. Oh, and when you're done, for neatness, grind down the back of the weld area flush. Bear in mind, sills will need to be seam-welded so no water can seep through. View our range of welding equipment including masks, primers, jigs and clamps.
Credit: Photo by Igor Ovsyannykov on Unsplash
And finally...
With the new panel in place, apply a thin skim of body filler to blend the welds with the surrounding bodywork. Our plastic padding professional body filler works really well. Yes, even the professionals use filler! Sand everything down and job done – a perfect panel repair!

Keep up with all the latest from Moss on our social pages
|
|


 Loading...